![Rogo logo - full colour without Eintech@2x.png]](https://help-guide.eintech.com/hs-fs/hubfs/Rogo%20eintech%20design%20toolkit/Rogo%20Logos/Rogo%20logo%20-%20full%20colour%20without%20Eintech@2x.png?height=50&name=Rogo%20logo%20-%20full%20colour%20without%20Eintech@2x.png)
The login flow via email provides access to the student side of Rogo, including accessing courses, assessments and results. If you wish to give access directly to the exam you can provide students with an auto-login start link or a pin code.
1) Login Details (Email & Password)
To provide a student with login details you can send them an email via Rogo which contains a password; this can be done when their account is first created or at a later date.
To provide a student with login details you can send them an email via Rogo which contains a password; this can be done when their account is first created or at a later date.
Creating the Login Details Email
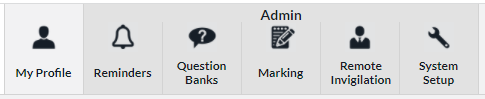
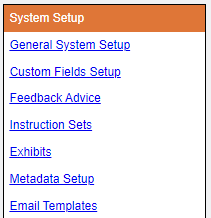
You can set this email up from the ‘Email Templates’ page, in the far-left column on the ‘System Setup’ page. Select ‘General’ as the email type and then use the WYSIWYG text area to create your email, you should then use the ‘Insert Field’ drop down to choose where their password will be placed in the email. 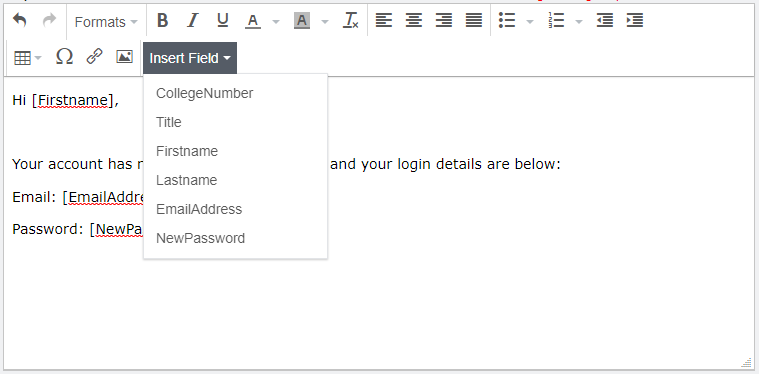
You can also choose to include their college number, first name, last name, etc. as shown in the screenshot.
Welcome Email
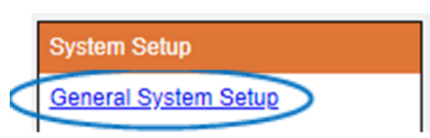
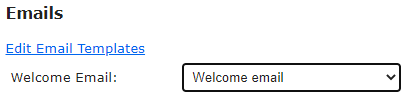
You can also configure this email template to go out automatically to all users as a ‘Welcome Email’. To do this, go to ‘System Setup’, and then ‘General System Setup’ and choose your email template from the drop-down. Once set up any new users created will automatically receive this email.
Send Manually on Registration
If you do not want to create a ‘Welcome Email’ that goes out to all new users, but still would like students to receive login details when their account is first created, you can also do this when bulk importing students. 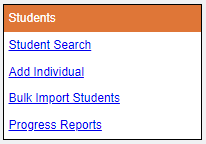
To bulk import, go to the ‘System Setup’ page and then ‘Bulk Import Students’ and upload your CSV file. Before clicking on Import, choose an email template with the password field from the drop-down in the ‘Send additional email on registration ’ field. 
You can also send the email out to individual students from their profile page. First, search for the student in the ‘Student Search’ bar along the top, and then choose the email from the drop-down provided.
You can also view emails which have already been sent to students, and resend them if needed. 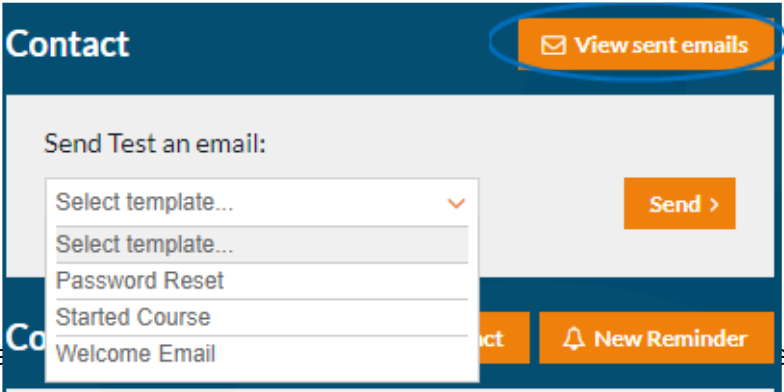
Send Email at Later Date
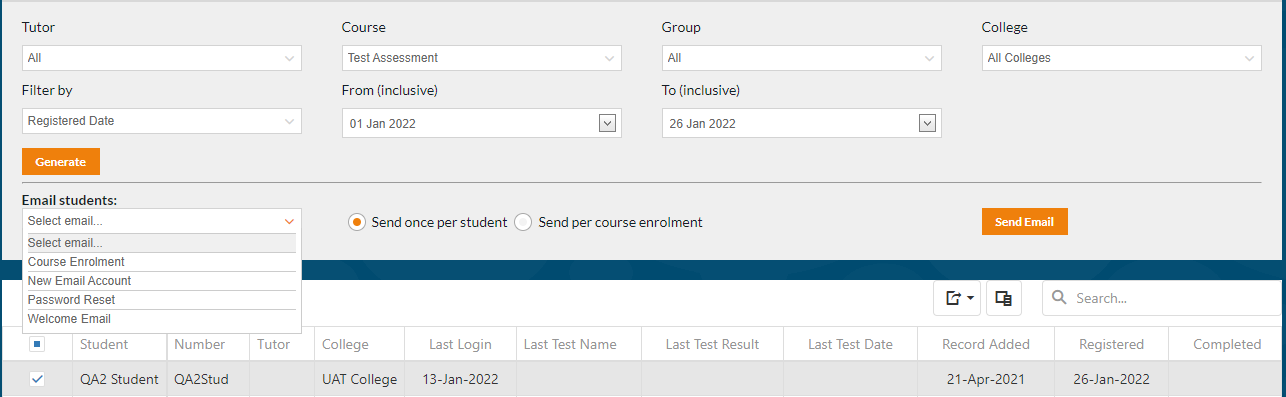
An email with login details can also be sent to the student from their profile page any time after their account has been created, however, if you want to send login details out to multiple students after their accounts have been created you can do this from the ‘Progress Report’. Go to ‘System Setup’ and then ‘Progress Reports’ in the first column and then use the filters to find the relevant students. Once the report is generated you can then select some/all students using the check boxes and choose an email to send to the students.
2) Auto-Login Start Link
The auto-login start link logs the student into their account and takes them straight to the welcome screen or to the beginning of set-up if using Remote Invigilation. 
An email with this link can be set up in Email Templates, however in this case the email type would need to be ‘Exercise Attempt’, this will then give you additional fields to insert, including ‘AutoLoginStartLink’. To send the student an ‘Exercise Attempt’ email type you would first need to create a session and book them into their exam using this session. 
3) Pin Code 
When a ‘Test Centre Exam’ session type is used, set-up instructions above, then a unique pin code is generated which allows the student to login. This pin code can either be used in the Kiosk (Rogo’s lockdown browser application), or on a URL which simulates the Kiosk login page. Once students are added to the session, you can then export an excel document containing all students’ names and their unique Pin code, which you can then send out to them or to test centres to distribute. 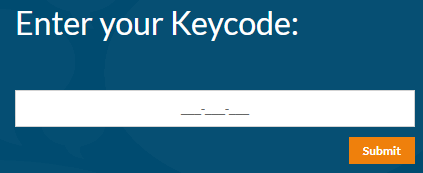
Extra digit on PIN Codes
PIN Codes generated for ‘Test Centre Exam’ sessions, used either in the Kiosk or on a webpage, have been in the format 000-000-000. We have now reached a new high in exam numbers and need to increase the digits in the codes. The new format is 000-0000-000. There is no change to any functionality.
