![Rogo logo - full colour without Eintech@2x.png]](https://help-guide.eintech.com/hs-fs/hubfs/Rogo%20eintech%20design%20toolkit/Rogo%20Logos/Rogo%20logo%20-%20full%20colour%20without%20Eintech@2x.png?height=50&name=Rogo%20logo%20-%20full%20colour%20without%20Eintech@2x.png)
Creating an Exercise
Go to the Home page and select the Course for which you want to create the Exercise. If using Categories, first select the Category that contains your required Course.
If your course is set to be an Online Course, you will first need to view the relevant chapter before creating the exercise, if however, you have a Test Engine/Assessment Only Course then you will immediately see a list of Exercises already created. To create a new one, click New Exercise 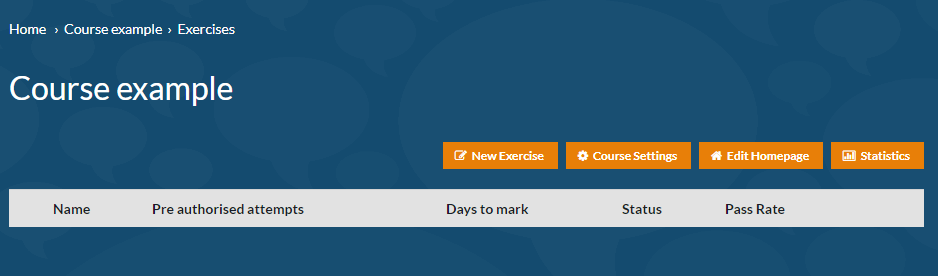
Exercise Settings
Here you set the rules for the exercise, such as time allowed, the test screen display, and the results and marking options. Most of the options are self-explanatory or have a tooltip for more information. Below is some additional information. 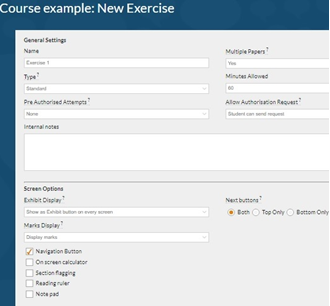
Name
This will appear on the student’s screen and on their results so should be meaningful, e.g., Exercise 1 or Exercise 2 etc.
Multiple papers
You can turn off multiple papers so that each student will receive the same test. This can be used with Randomised question banks to ensure that they do not get the same questions.
Result Report – Choose between:
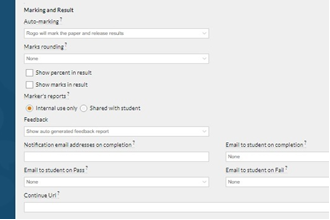
Show auto generated feedback report
Show them their overall result and any feedback added to the questions.
Show questions and feedback
Allows students to view all of the questions again, with colour coding to show how they performed, the score gained for individual questions and any feedback added to the questions.
Show questions, feedback, and correct answers
As above but also shows them the available correct answers.
Once you've chosen your Feedback option you can then select a Feedback Type you can choose whether you want the students to see the questions and feeback on a results page alongside their overall result, or as an overlay on the test which will take them back through the paper viewing one question at a time.